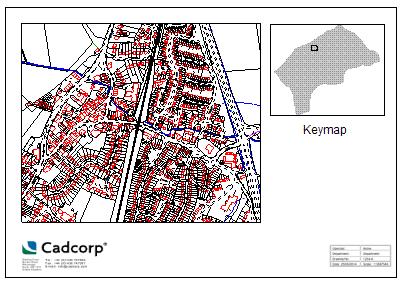
A KeyMap is a special kind of Polygon item that draws a named Item as a backdrop, with an optional named View, plus filled polygons for associated Map Frame items. This is useful for placing KeyMaps on Print Template objects.
KeyMaps are identical to backdrops, and are stored as items in a NOL in just the same way.
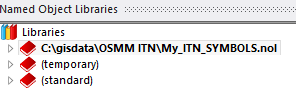
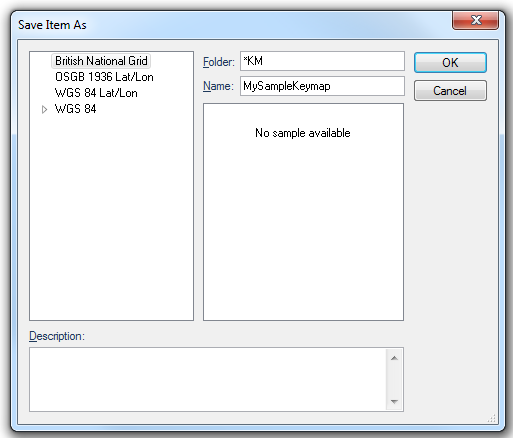
KeyMaps are stored in special library folders known as star folders along with North Points and Scale Bars. Any main folder names which are prefixed with a 'star' (asterisk) are normally hidden from view. If you cannot see the *KM folder right-click on the top Libraries node of the tree and select Toggle ‘*’ Objects. This will make all hidden folders and objects visible in the library tree. Selecting this option again will hide them from the tree.
Back to top of page
KeyMaps may be added to Print Templates in three ways:
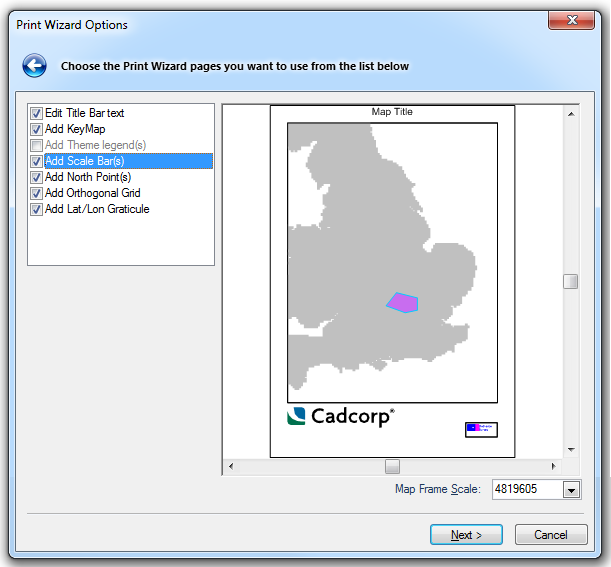
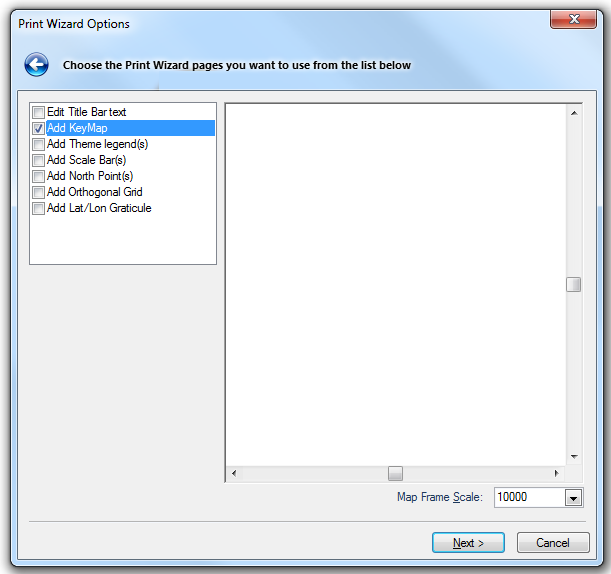
Whether you place a KeyMap using Print Template [File-Print Template] or Quick Print Template [File-Print Template], or afterwards on a composed Print Template, the process is the same: select the KeyMap from the displayed list, then 'click-drag-click' a rectangular area on the template preview or composed template where you want the KeyMap to appear.
Back to top of page
In the Libraries Control Bar, use Toggle '*' Objects to display the *KM folder within Item in the standard library, copy the entire *KM folder and paste it into the (temporary) library.
UK 50km and UK 100km are already present in the *KM folder. If you wish to add another item paste the new item into the *KM folder in the (temporary) library. The backdrop will now be listed as a KeyMap when you use Print Template [File-Print Template] or Quick Print Template [File-Print Template] or use KeyMap [Paper-Annotate] on a Map Frame item in a Print Template.
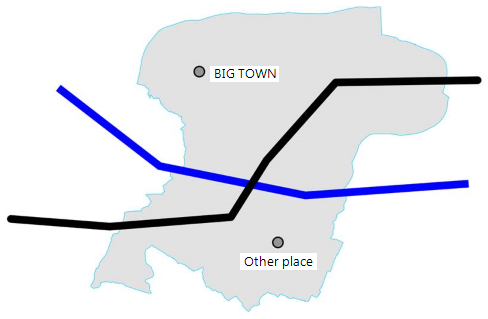
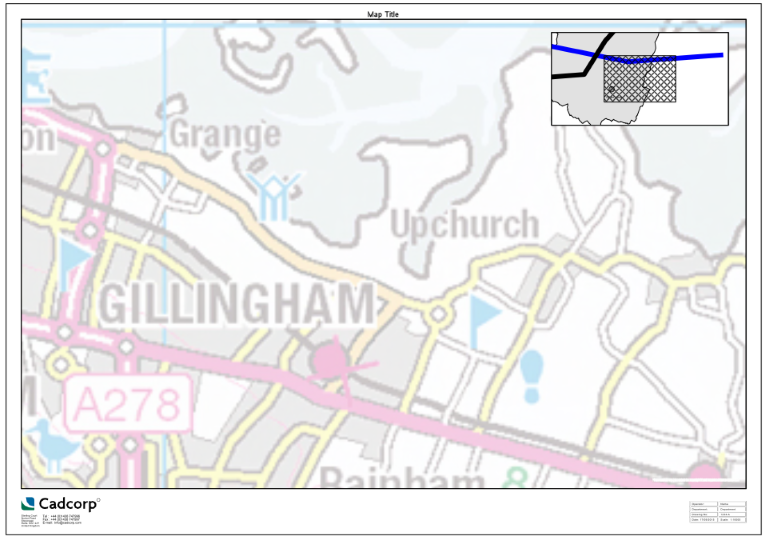
Example of creating and using a KeyMap:

Back to top of page
If you want padding around the KeyMap, simply zoom out slightly before storing the view.
See the Example of creating and using a KeyMap above.
Back to top of page
The first thing you will notice when you have placed a KeyMap is that it appears as a crosshatched rectangle with a smaller crosshatched rectangle within it. This is because the KeyMap displays the extent of the Map Frame item (the hatched area) with a default padding factor of 2.
In this example Surrey Heath district is much larger than 2 times the displayed map.
The padding factor can be changed by selecting the KeyMap and changing the value in the Properties Control Bar, as shown:
Changing the padding factor to 40 makes the KeyMap display an area of Surrey Heath 40 times larger than the map area:
Notice that the hatched map area is still central in the KeyMap, so not all of the Surrey Heath area is displayed. In this example it is necessary to increase the padding factor to 85 before the whole of Surrey Heath is visible. This also has the possibly undesirable effect of displaying the hatched map area centrally, with the Surrey Heath area off centre:
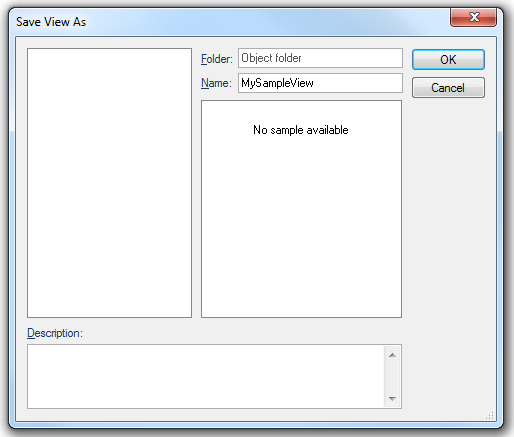
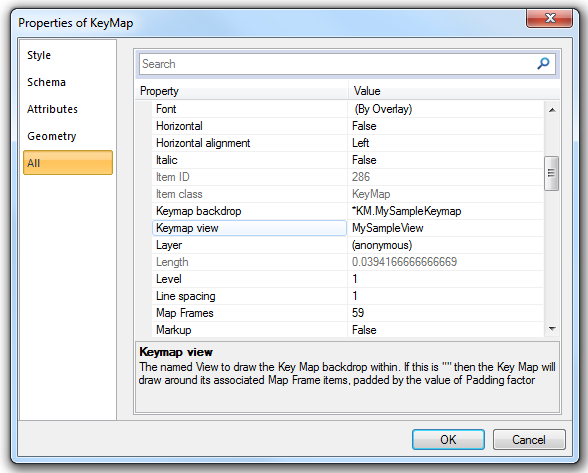
In these circumstances it is recommended to ignore the padding factor and instead set the Keymap View. A KeyMap View is a named view stored in a NOL which defines the map extents of the KeyMap item.
All of the KeyMaps contained in the Backdrops and KeyMaps NOL have a corresponding named view for this purpose.
The Keymap View can be set in the Properties Control Bar by copying the KeyMap Backdrop name, excluding the *KM. prefix, into the Keymap view property value as shown below:
This setting overrides the padding factor and ensures that the whole of Surrey Heath is displayed in the KeyMap as shown:
Note: All of the KeyMap views provided in the Backdrops and KeyMap library have a 5% padding factor around the backdrop graphics so the bounding rectangle does not touch the graphics.
Back to top of page
The KeyMap rectangle is simply a special class of Polygon item, so its Pen and Brush can be changed in the same way as other Polygons. By default the Pen is 'by overlay' and the Brush is opaque white.
The colour and appearance of the Surrey Heath area is determined by the appearance of the item stored in the *KM library folder.
The hatched map area appearance can be changed in the Properties Control Bar with the Brush for outlines and Pen for outlines properties. Note that you can only set brushes or pens which are stored in a NOL, or enter an implicit string which specifies the brush or pen style:
The following is an example of a circular KeyMap, where the surrounding thickened blue circle does not touch the backdrop item.

This can be achieved either by storing a named view slightly larger than the backdrop item and using that as the KeyMap View or by creating a pen which is offset by 2mm and drawing the circle over the KeyMap rectangle. With both the circle and the KeyMap selected, use Union [Analysis-Boolean Operations] to add the circle to the KeyMap.
Back to top of page
Top of page
Click to return to www.cadcorp.com
© Copyright 2000-2017 Computer Aided Development Corporation Limited (Cadcorp).