OS MasterMap Manager OS MasterMap Manager
Important changes have been made to improve support for the OS MasterMap Topography Schema V9. Please click here for advice on working with OS MasterMap Manager 8.0.1835 or later.
OS MasterMap Manager displays the Cadcorp OS MasterMap (Topo) Manager - Select the source data to load dialog:
 Manager dialog-Select source data to load.png)

Click the ... button to display the Select files for processing dialog:

Navigate to the folder containing the files and select Add All or highlight the required file(s) and click Add.
To remove files select the file(s) in the Files for processing pane and click Remove or Remove All to remove all files from the pane.
When selection is complete click Accept.
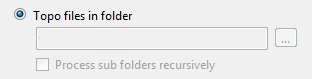
Click the ... button to display the Browse For Folder navigation dialog:
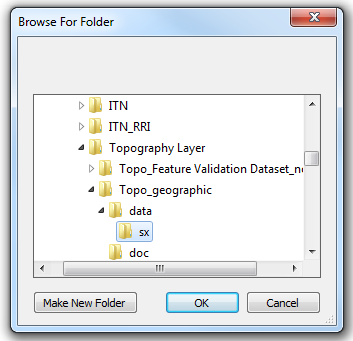
Navigate to the folder containing the files.
If you want make a new folder click Make New Folder. Add required data files to this folder.
Click OK.
Control is now passed back to the Select the source data to load dialog:

Process sub folders recursively - check this tickbox to include files in sub folders, this can increase the number of files selected for processing, i.e.
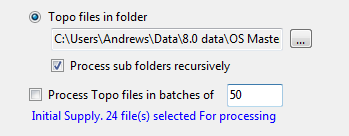
Process Topo files in batches of - check this tickbox to and enter the number of files to be processed in a batch. This increases the memory efficiency of zipping a large number of large files.
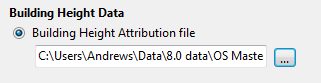
If building height data is to be used select this option and click the ... button to navigate to the height data CSV file.
Note: See Dialogs associated with the Building Height Attribution file option below.
When the entries in the Cadcorp OS MasterMap (Topo) Manager - Select the source data to load dialog are complete click Next.
.png)
As an example take the Cadcorp OS MasterMap (Topo) Manager - Select the source data to load dialog with the Individual Topo file(s) entered as shown above.
Click Next.
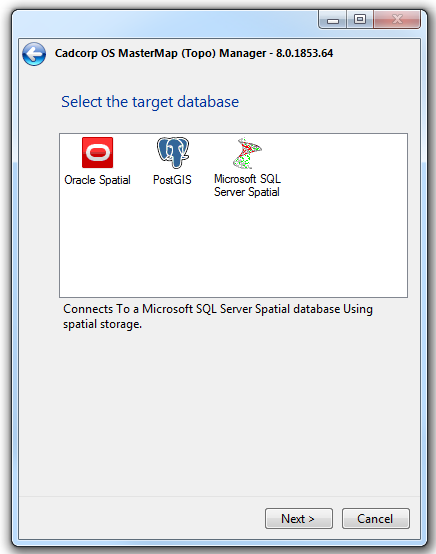
The Select the target database dialog will be displayed:
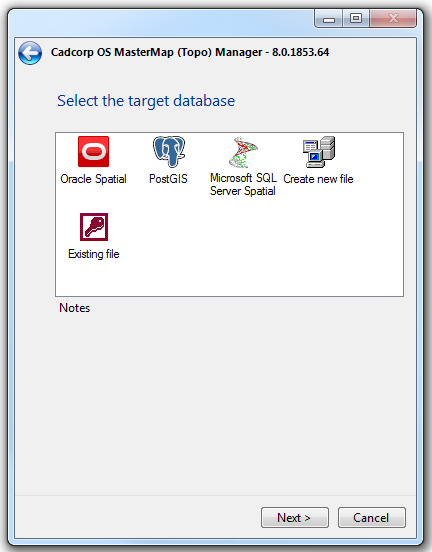
These target databases are the same for both the Individual Topo file(s) and Topo files in folder options in the Select the source data to load dialog;
Oracle Spatial - an editable dataset that stores items in an Oracle 9i, or later, Spatial database, using the Oracle Object-Related Schema.
PostGIS - an editable dataset that stores items in a PostGIS-enabled PostgreSQL database, using the PostGIS spatial schema.
Microsoft SQL Server Spatial - connects to a Microsoft SQL Server Spatial database using spatial storage.
Create new file - creates a new Microsoft Access or OS MasterMap ODB database on disk.
Existing file - connects directly to an existing Microsoft Access or OS MasterMap database.
Note: If the Building Height Attribution file option is selected in the Select the source data to load dialog the Create new file and Existing file icons will not be shown in the Select the target database dialog (above). Also the Select table dialog (below) will be different to the Select table dialog that is shown if either the Individual Topo file(s) or Topo files in folder options have been selected in the Select the source data to load dialog.
The different dialogs associated with the Building Height Attribution file option are shown below.
Select the database type and click Next.
The appropriate database connection dialog will be displayed.
Note: For an Oracle connection the OSMM Manager requires the server details to be in Oracle Instant Client format, regardless of whether the instant client has been installed or not.
e.g. //10.0.2.7:1521/QAORC007
Complete the details for the database and click Next.
The following Cadcorp SIS OS MasterMap (Topo) Manager - Select table dialog will now be displayed:
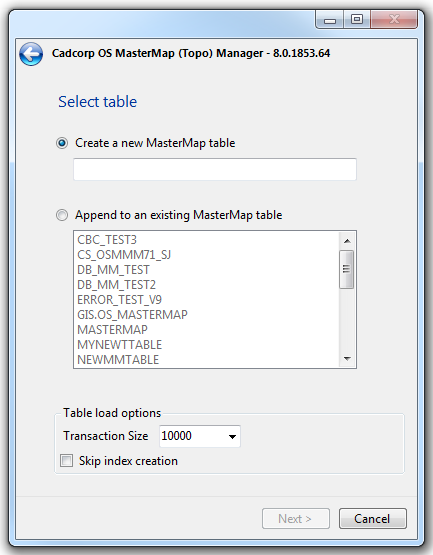
Select either:
Create a new MasterMap table - enter a name for the table.
Append to an existing MasterMap table - select an existing MasterMap table from the list.
Table load options
Transaction Size - select from the drop-down list.
Skip index creation - Check this tickbox if an index is not to be created.
Click Next.
In this example a new MasterMap table has been selected:
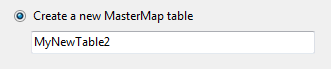
Click Next:
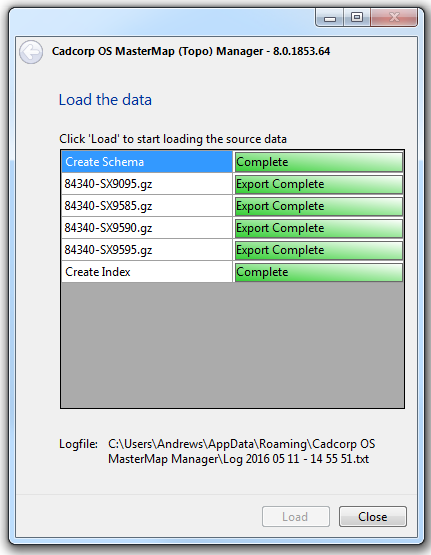
The Load the data screen will be displayed:
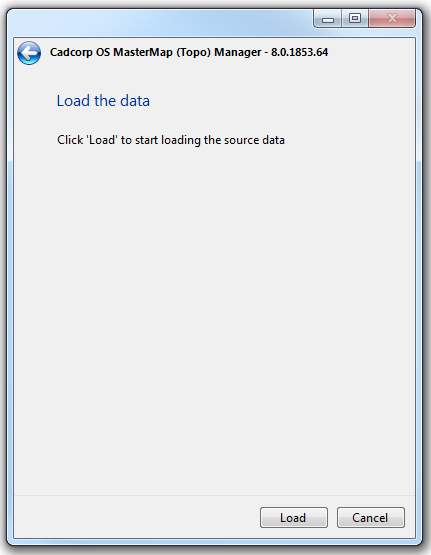
Click Load.
Processing will commence. On completion the dialog will appear as below:
Click Close to finish.
The Logfile (shown on the dialog) can be viewed, typically this would look like:
Cadcorp OS MasterMap Manager - 8.0.1853.64

14:55:51	Log file opened
14:55:51	Job Started
14:55:54	Created Schema MyNewTable2
14:55:54	Starting Import of 4 file(s)
14:56:00	Added 401 features from 84340-SX9095.gz
14:56:01	Added 2 features from 84340-SX9585.gz
14:56:07	Added 743 features from 84340-SX9590.gz
14:56:08	Index created
14:56:08	Job Complete 00:00:17.3208660
14:56:08	Log file closed
Note: If the Building Height Attribution file option is selected in the Cadcorp OS MasterMap (Topo) Manager - Select the source data to load dialog the Cadcorp SIS OS MasterMap (Topo) Manager - Select table dialog will be different.
The Select the target database dialog will be shown:
For the Building Height Attribution file option the following target databases are available:
Oracle Spatial - an editable dataset that stores items in an Oracle 9i, or later, Spatial database, using the Oracle Object-Related Schema.
PostGIS - an editable dataset that stores items in a PostGIS-enabled PostgreSQL database, using the PostGIS spatial schema.
Microsoft SQL Server Spatial - connects to a Microsoft SQL Server Spatial database using spatial storage.
Select the database type and click Next.
In this case the Select table dialog will be as follows:
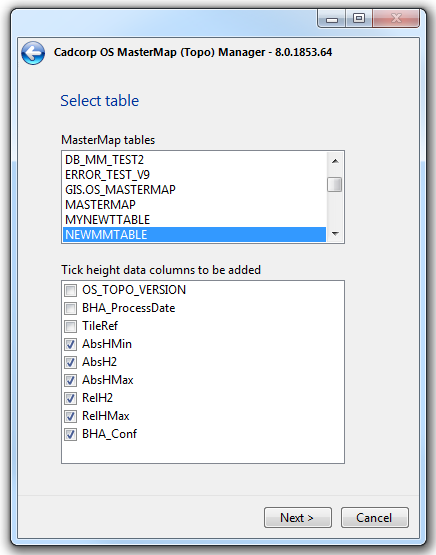
Select the MasterMap table from the top pane.
Tick the height data columns to be added.
Click Next.
Before processing starts the following Warning may be shown:

Click Load.
On completion click Close.
Once the OS MasterMap source files have been loaded, you can open the data directly using the Add Overlay > Ordnance Survey (GB) > MasterMap Topography Layer option in the Overlay Types dialog:
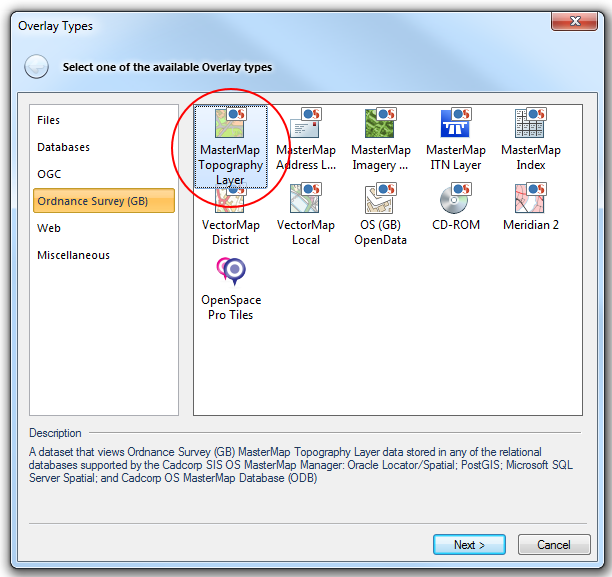
Select the MasterMap Topography Layer option and click Next to go to the database type selection dialog.
Select the database used when the OS MasterMap Manager was run and click Next.
Follow the procedure for MasterMap Topography Layer.
MasterMap Topography Layer will automatically find tables that have been created with the OS MasterMap Manager and style the data for display and editing.
Send comments on this topic.
Click to return to www.cadcorp.com
© Copyright 2000-2017 Computer Aided Development Corporation Limited (Cadcorp).