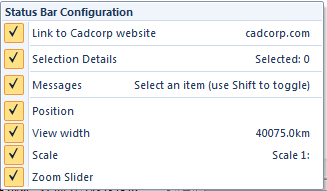
The Status Bar is located at the bottom of the screen (see Status Bar for how to display the Status Bar).
Right-click anywhere in the Status Bar to display the Status Bar Configuration dialog:

A number of items can be selected in this dialog for display in the Status Bar as follows:
See the following sections of this topic for individual descriptions:
The following is an example of a Status Bar configuration with all options checked:
Note: The position of the items in Status Bar will depend upon other selections made in the Status Bar Configuration.
The first item in the Status Bar is a link to the Cadcorp web site;www.cadcorp.com.
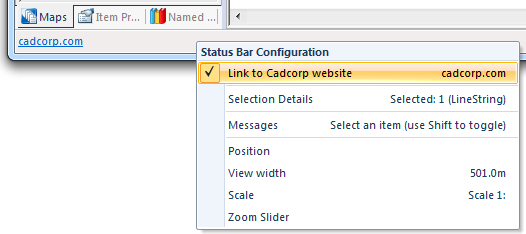
The Selection Details option turns on the selection details display in the status bar:
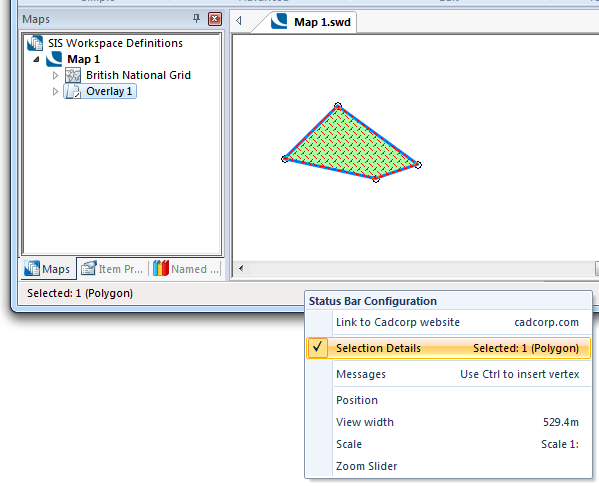
The Item class of the selected item(s) is shown.
If there is more than one class of item in the selection the total number of selected items will be displayed in the form; Selected: n (Polygon). The item name in brackets will change according to the item(s) selected, i.e. LineString, Point, Text, etc. If a mixture of items are selected only the total number of items will be shown in the form; Selected: n.
Typical display examples:
Selected: 1 (Polygon)
Selected: 1 (TIN)
Selected: 5
The messages are helpful text related to the operation being carried out at the time, a description of a menu command, or a prompt for the action required by the current command. The following are examples of the messages that may be displayed:
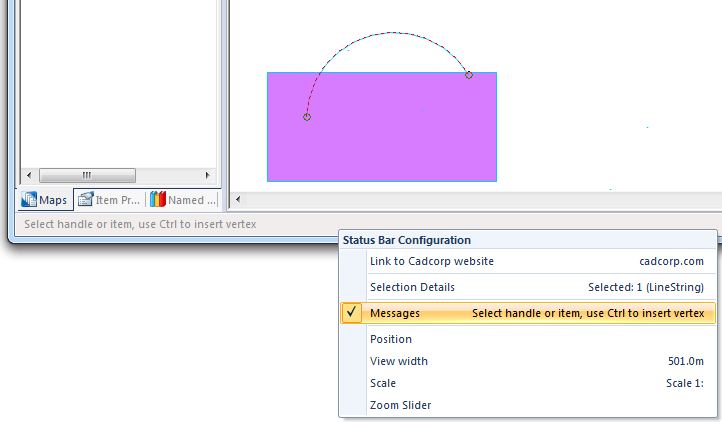
Typical message examples:
Select handle or item, use Ctrl to insert vertex
First corner of rectangle, use Enter for size
Use Enter to edit text, or Tab to justify texts
The Position option turns on the position display in the status bar:

If you type a number on the keyboard while the focus is in aMap Window, then the focus is moved into the Position box. Here you can type a coordinate in the chosen format.
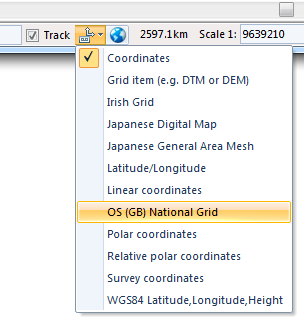
The available formats are as follows:
When used with a grid, TIN or DTM, the Z height gives the value of the cell of the grid, or the height at that point on a TIN or DTM.
e.g. 241km,596km,15km
e.g. DTMs, DEMs or grids.
e.g. IN 5067 6432
The precision used reflects the units set. So if you were using metres with no decimal places, the read-out might be IN 43765 62893. If you are using metres accurate to 3 decimal places, the read-out would reflect this accuracy e.g. IN 43765801 62893277.
e.g. 51.569°,-3.760°,0km
The precision used reflects the units set - see Irish Grid above.
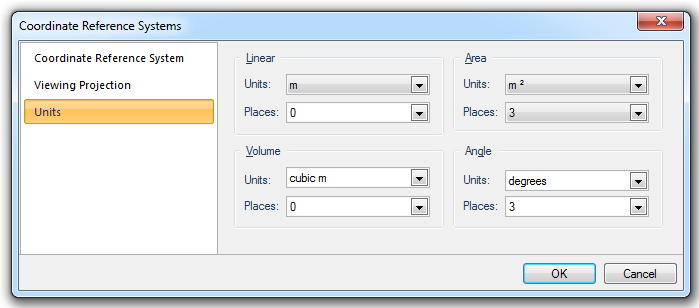
e.g. 135°, 371m, 0m
e.g. 172°,19m,0km
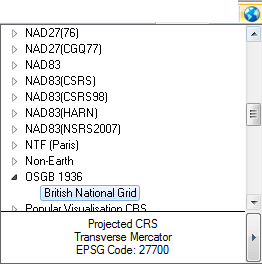
 The Coordinate Reference Systems button gives a drop-down list to allow you to choose the requiredCoordinate Reference System.
The View width option turns on the view width display in the status bar:
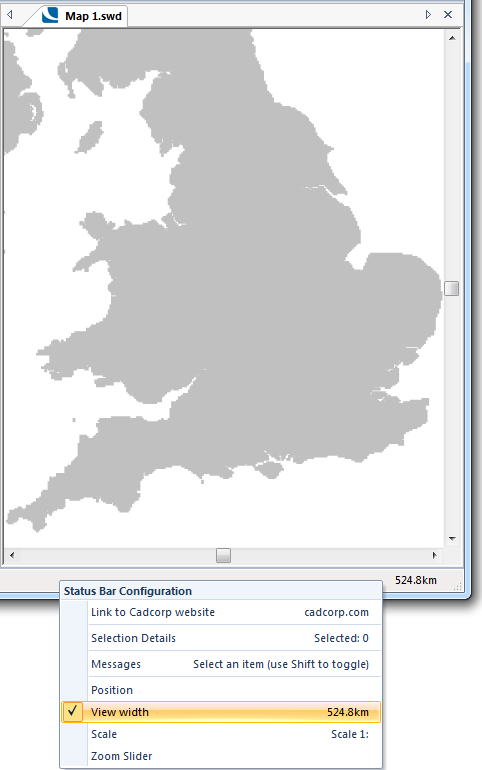
Note: View width is non-editable and is always shown in km.
The Scale option turns on the Scale 1:nnn display in the status bar:
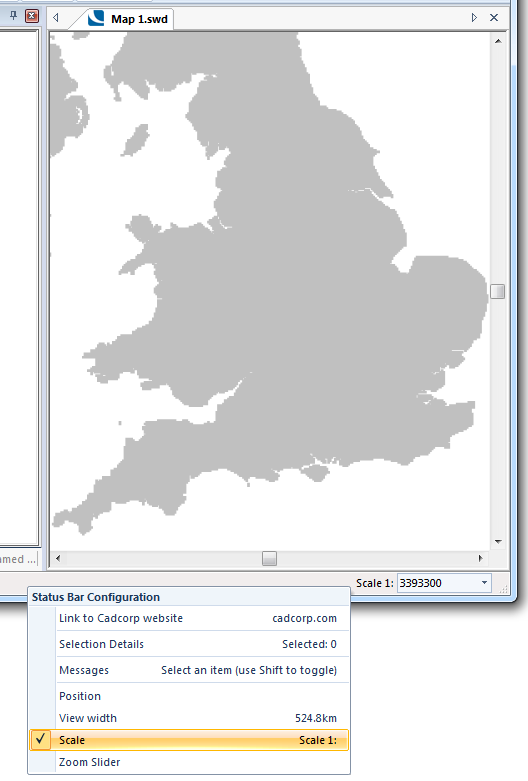
You can change the scale by clicking on the down arrow to the right of the scale value and selecting the required scale.
The Zoom slider option turns on the Zoom slider in the status bar:
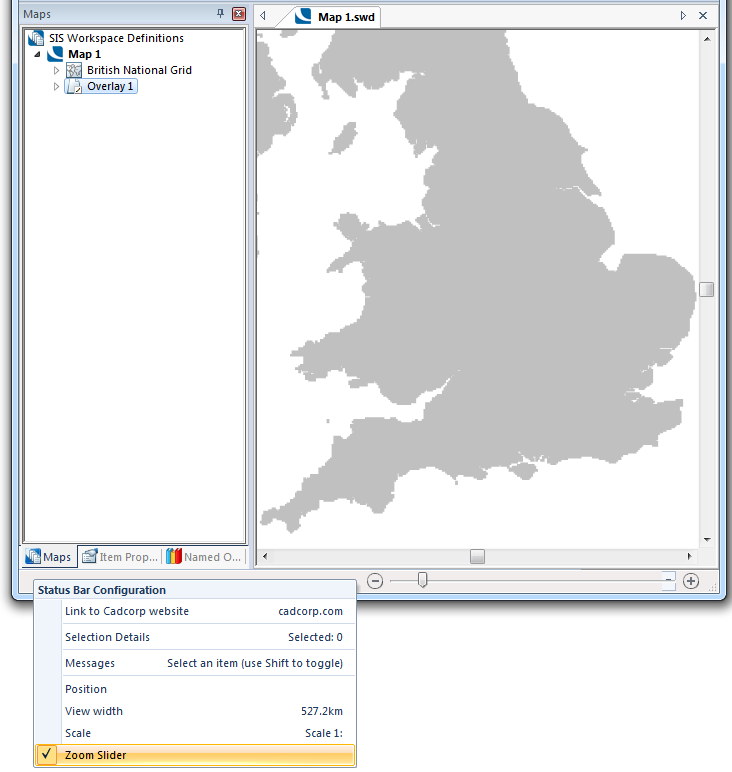
You can zoom in and out of a view by either sliding the Zoom Slider bar or clicking on the +/- buttons at each end of the slider to increase or decrease the view in the Map Window between a scale of 1:1 and 1:200000000.
By default the steps correspond to the scales in the Status Bar Scale control (plus one step at either end). If an Overlay has a fixed set of resolutions, then the zoom slider steps will correspond to those resolutions (plus one step at either end).
The Zoom Slider is also used in a similar manner to zoom the view in the 3D Window. The scale is not displayed in the status bar when zooming in the 3D Window.
See also:
Click to return to www.cadcorp.com
© Copyright 2000-2017 Computer Aided Development Corporation Limited (Cadcorp).