.png "Click to enlarge")
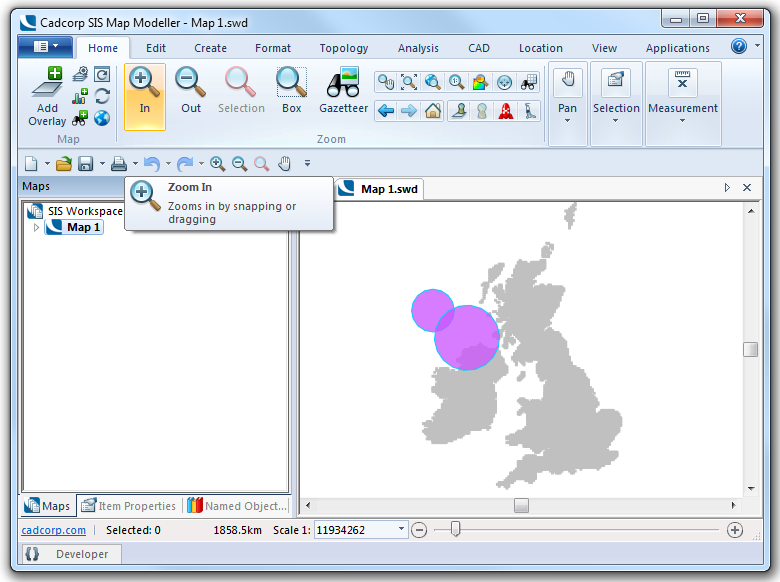
SIS replaces the traditional menu bar and toolbars with a ribbon command bar based on the Microsoft® Office Fluent™ user interface.
The Ribbon organizes the SIS commands, tick boxes, text boxes and menu controls into a series of tabs and is displayed at the top of the SIS main window.
All commands are provided in the Ribbon:
The Ribbon is designed to help you quickly find the commands that you need to complete a task. Commands are organized in logical groups, which are collected together under tabs. Each tab relates to a type of activity.
Note: Commands in this Help are shown in the form:
command name [xxx-yyy], i.e. Add Overlay (Home-Map]
where:
xxx is the ribbon tab
yyy is the logical group within the ribbon tab
In order to make the Ribbon as clutter free as possible, some tabs are shown only when needed. For example, the 3D tab is shown only when selected from the View tab and the Paper tab is only shown when the Map Frame is selected after a print template function has completed.
On startup SIS will display a Ribbon with tabs as follows:
Home, Edit, Create, Format, Topology, Analysis, CAD, View, Applications
The Applications tab will contain all Add-Ins that have been installed in SIS. These Add-Ins are started from this tab. To prevent the Applications tab becoming overcrowded if a large number of Add-ins are installed individual Profiles can be created so that only Add-Ins pertinent to a particular user or group are displayed. This is explained in the Applications tab description.
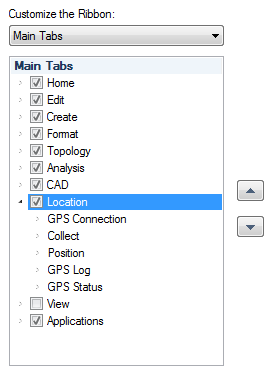
A Location tab is also available but is not automatically displayed, this tab can be displayed by selecting the Customize Quick Access Toolbar drop-down, choosing More Commands..., selecting the Customize Ribbon tab and checking the Location tickbox in the Main Tabs panel:
Other tabs that may be displayed are:
The commands in each tab can be added to the Quick Access Toolbar, see the Quick Access Toolbar topic.
When the cursor is placed over a command a key tip will be displayed giving a brief description of the command.
By default, the groups within a Ribbon tab show the largest possible control variation that can fit in the available space.
As the window is made narrower the Ribbon will be dynamically resized. The following illustrations show how the Ribbon resizes as the SIS Workspace is made narrower.
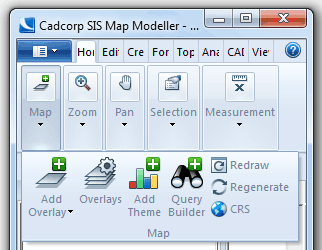
When the window has enough available space, the controls within each group in the Ribbon tab are shown in their fully expanded state:
As the window is made narrower some groups will be shown in their collapsed state: resized 1.png "Click to enlarge")
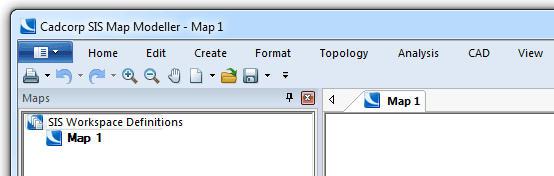
As the window is made even narrower all groups will eventually be shown in their collapsed state:
 (100) resized 2.gif)
Click on a collapsed group's drop-down button to display its largest size arrangement:
To minimize the Ribbon click on the Minimize the Ribbon button:
.png)
When the Ribbon is minimized a tick will be shown next to the Minimize the Ribbon button:
.png)
The screen layout, depending on the tabs selected for display, will now be similar to:
To use the Ribbon while it is minimized, click the tab you want to use, and then click the option or command you want to use.
For example, with the Ribbon minimized, you can click the Create tab and create a Point, LineString item, etc. After you have selected the command the Ribbon returns to its minimized state.
To quickly minimize the Ribbon, double-click the name of a tab. Double-click the tab again to restore the Ribbon.
Also right-clicking in the tab area of the Ribbon will display the Minimise the Ribbon local command, allowing the Ribbon to be toggled on and off its minimized state.
See also:
Send comments on this topic.
Click to return to www.cadcorp.com
© Copyright 2000-2017 Computer Aided Development Corporation Limited (Cadcorp).