Alternatively you can use Stretch [Edit-Geometry]. To move the image use Move [Edit-Geometry].
SIS allows you to apply a Watermark image to Print Templates. Once created the Print Template can be stored in a NOL and can be used without recreating the watermark.
A watermark is a Map Frame Item which you should add to the overlay of the map frame of your custom templates. A watermark can consist of bitmap or vector items. For advanced transparency, scalability and resolution it is recommended to use vector items. Items can be directly created on the map frame layer or imported from supported vector files. Individual watermark items should be grouped together, which allows for easier placement and re-sizing.
Not all image formats support transparency. It is recommended to use an image editing software to store the watermark in a suitable format prior to the import. PDF publishing does not support both types of transparency.
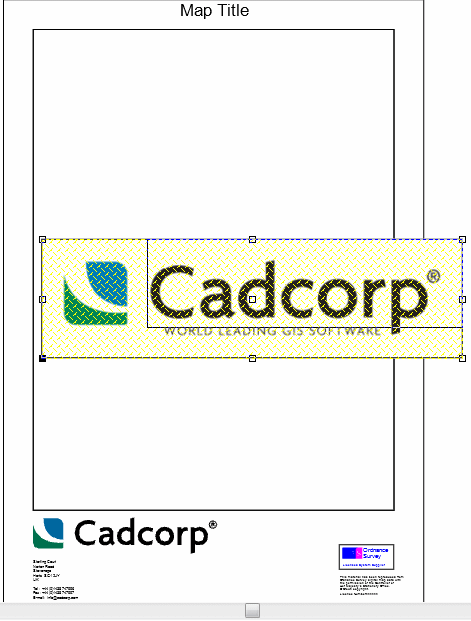
Open a Print Template for Editing (see Creating a new print template from an existing print template). A watermark is added by selecting Insert from Image [Create-Miscellaneous]. Navigate to the image you want to use as your watermark and click open. The Image item will be added to the template.
The image may need resizing. This can be done by selecting the image item, to show the vertices, and clicking a vertex and dragging it to a new location. Holding down shift will keep the original ratio.
Alternatively you can use Stretch [Edit-Geometry]. To move the image use Move [Edit-Geometry].
To ensure the image will be above the data use Bring to Front [Edit-Geometry-Arrange]. This will set the image item to Level 255, i.e. the top most level.
To alter the transparency, right click the image to access the local menu, choose Set Transparency.![]()
This will display the Bitmap Transparency dialog where you can set the transparency between 0 (no transparency) to 255 (completely transparent).
![]()
Vector items such as lines, polygons and text can also be added as watermarks. The brush and pen styles can be altered through the Overlays dialog (F2).
You can also use Rotate [Edit-Geometry-Arrange-Rotate] to rotate the image.
Once finished to save the template go to Store Print Template [File-Print Template]. The Print Template will be saved in your temporary NOL folder under Print Template. If you save this NOL it will then be available next time you want to use the Print Template Wizard.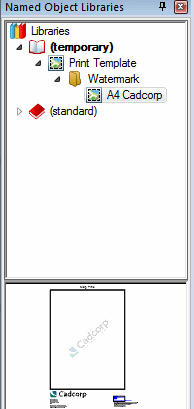
Send comments on this topic.
Click to return to www.cadcorp.com
© Copyright 2000-2017 Computer Aided Development Corporation Limited (Cadcorp).