What are Control Bars?
Control Bars provide control over many aspects of SIS Desktop 9, eg SIS Workspace Definitions (SWDs), overlays, Theme objects, Libraries, etc.
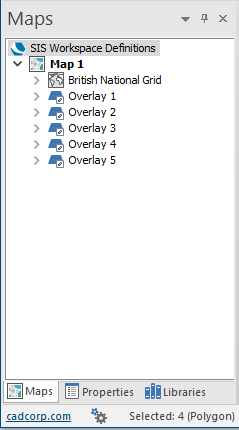
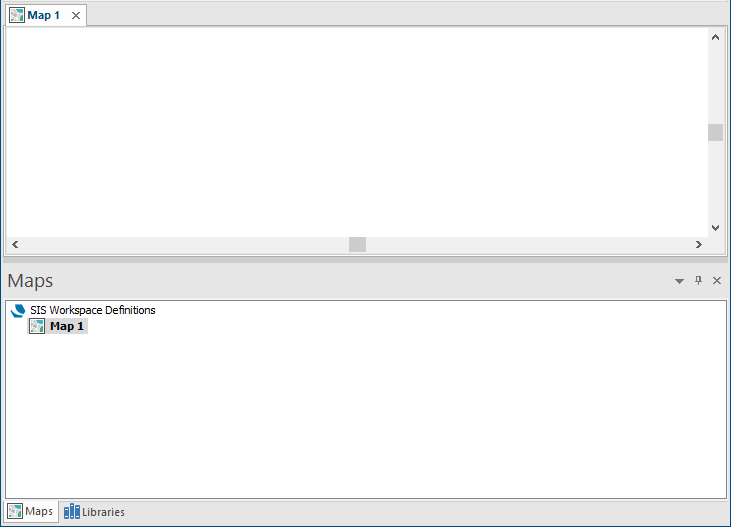
- Maps Control Bar - displays all loaded SWDs as nodes in a tree. Each overlay shows a tree of its Filters, Themes and Schemas. Each tree node also has a local menu which can be accessed with the right mouse button.
- Properties Control Bar - allows you to view and edit the properties of the currently selected Item (Pen, Feature code, etc.)
- Libraries Control Bar - allows you to open and close Libraries; create new Objects, eg, Brush, Print Template; etc.
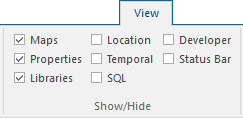
- Location Control Bar - shows the current GPS connection status.
- Temporal Control Bar - shows a “snapshot” of data during a particular period; eg all road traffic incidents in Reading during the month of June.
- SQL Control Bar - Toggle the SQL console
- Developer Control Bar - shows the commands results of user GisLink actions.
- Status Bar - toggles the display of the status bar at the bottom of the screen.
Moving Control Bars around the screen
SIS Desktop 9 displays the Control Bars by default at the left of the application window.
The display of the Control Bars are controlled by checking or unchecking the tickbox options in the Ribbon View tab, Show/Hide group:
To change the order of the Control Bar tabs in the tab block, select a tab and drag it to the required position, repeat for each tab as required.
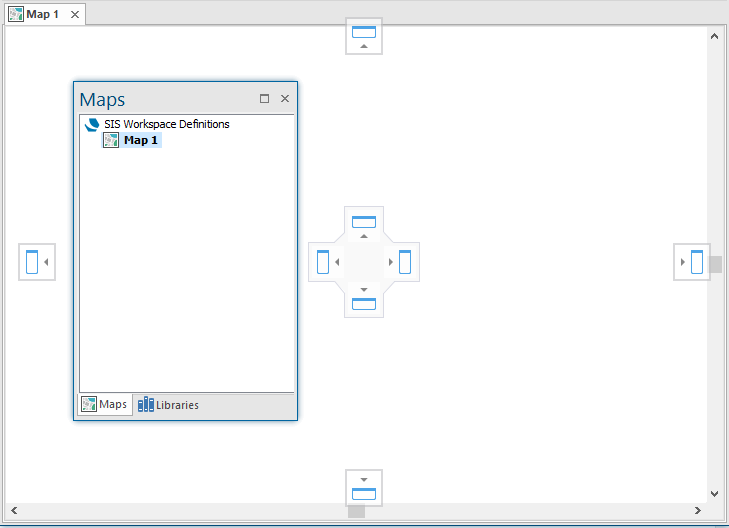
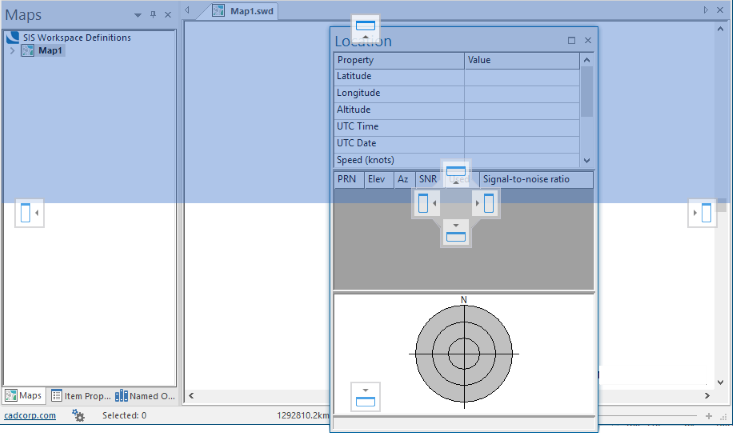
The tabs can be moved around the screen either as a block or individually and displayed in a number of different positions. There are numerous combinations of layouts available with either the complete block of tabs, or individual tabs. Some examples are shown below.
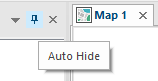
To move the tabs set the Auto Hide pin to the vertical position:
Click in the header of the Control Bar and drag the tab block around the screen.
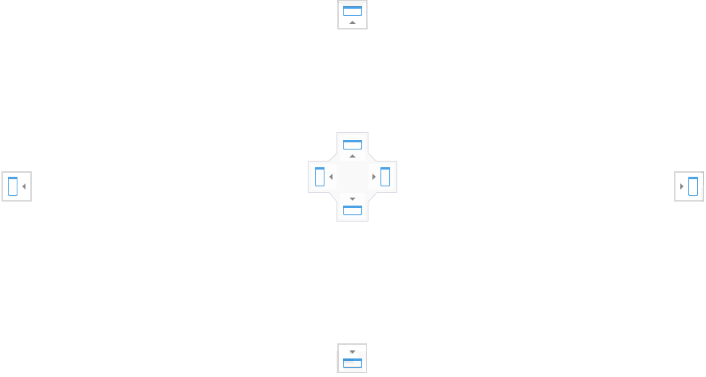
As you begin to move the tabs a set of markers will be displayed within the Map Window:
Continue to drag the tabs around the screen:
When the cursor dragging the tabs touches one of the markers an area becomes blue. This indicates the area the tab will occupy if dragging is stopped.
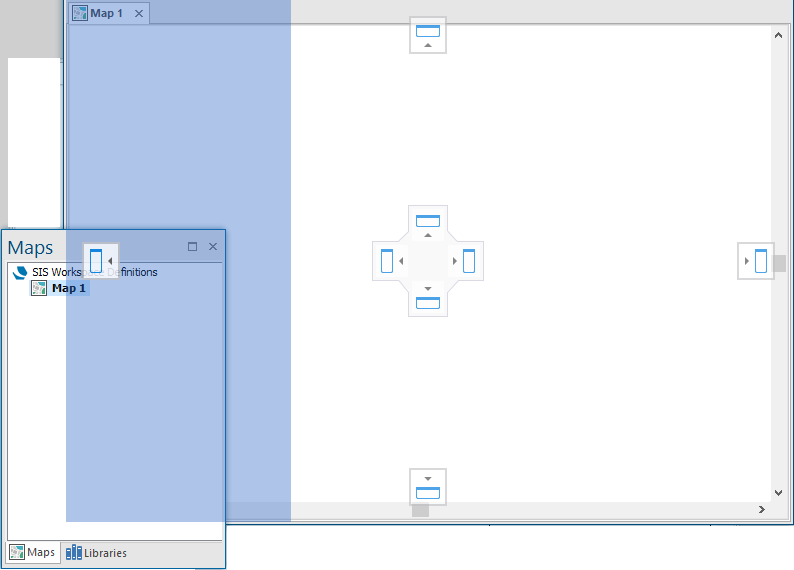
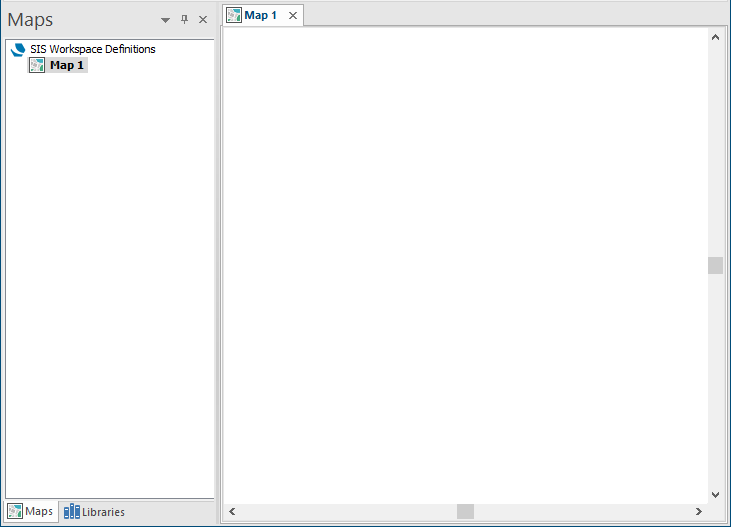
For example if the tab block is dragged to the position shown above and the mouse button is released then the tabs will be positioned as below:
A further example:
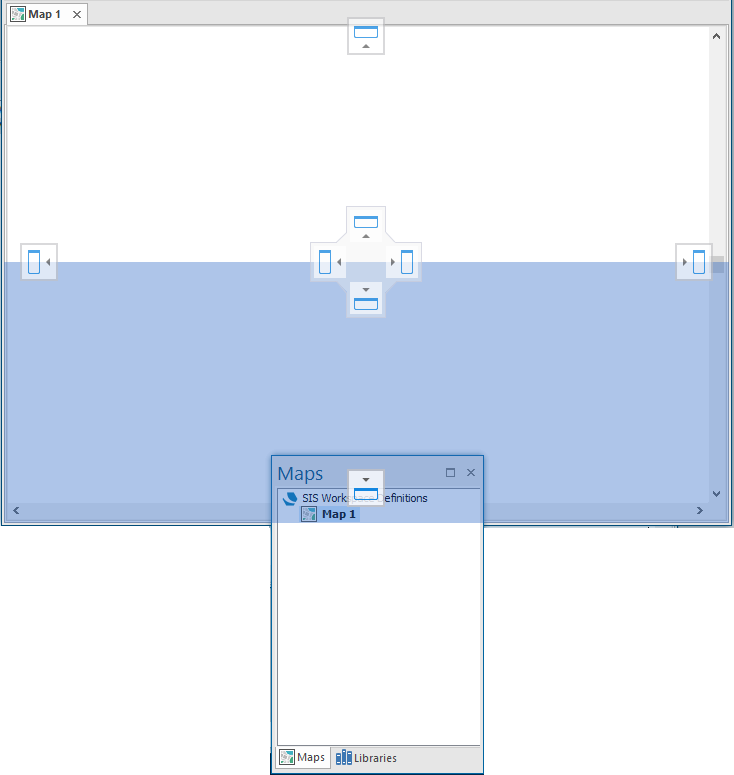
If the tab block is dragged to the bottom of the screen as shown above and the mouse button is released then the tabs will be positioned as below:
If the individual tabs are selected at the bottom of the tab block they can be moved separately.
The same location rules are followed as for the complete tab block. Both the complete tab block and individual tabs can be placed inside or outside the SIS Desktop 9 main window, for example:
Combinations of tab positions can be used.