Print Template Wizard
Select File > Print Template. ![]() Related Topics
Related Topics
Options are available to select Print Templates, scales (when used with a Map Window), what "furniture" to add (eg a Scale Bar, a North Point, a Key Map, etc.).
You can also create a new SIS Workspace Definition (SWD) for further editing.
TIP: The Quick Print Template command is a simplified version of the Print Template command.
Using a Print Template
Ensure the current window contains the view that you want to print.
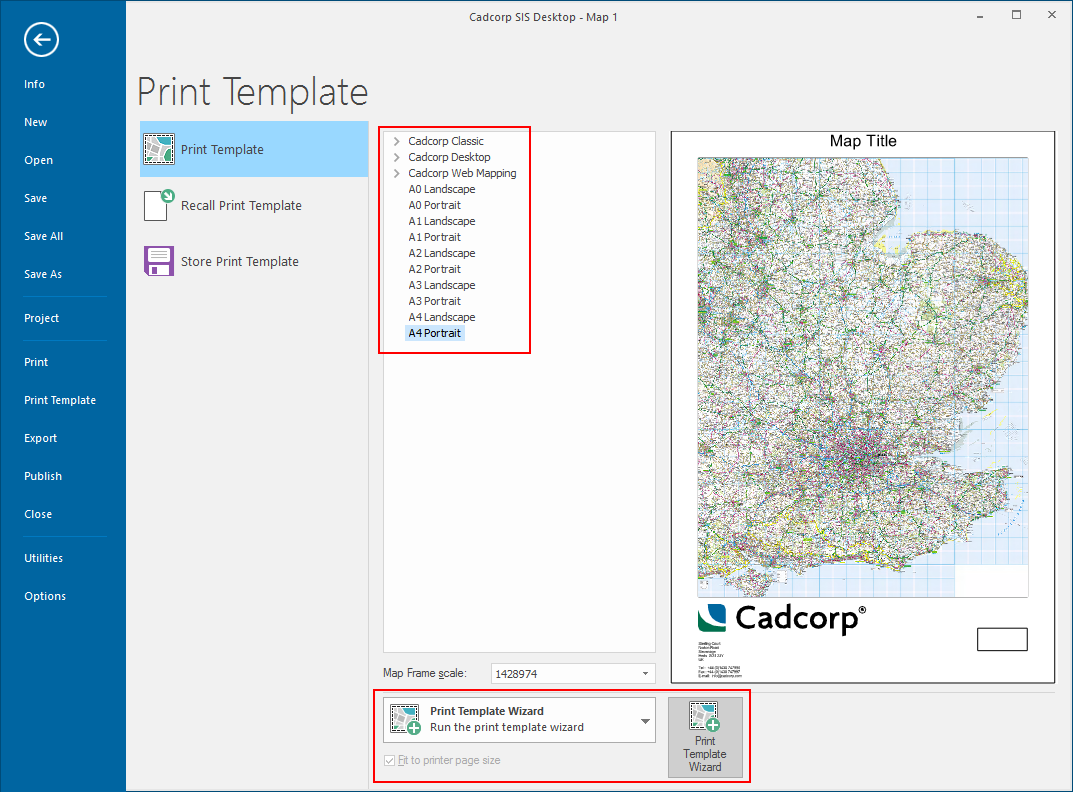
- Select Print Template (File > Print Template).

- Select the required print template from the list.
- To see more, simply click the Print Template Wizard button and choose from the drop-down.
- You will now see a preview of your chosen template with its dimensions.
- The inner rectangle on the print template is the "Map Frame"; this is where your map will be placed in the print.
- Use the Map Frame options to change the Scale if required.
View of map in the current window, showing the print template rectangle at a scale of 1:1250, rotated at an angle of 72°: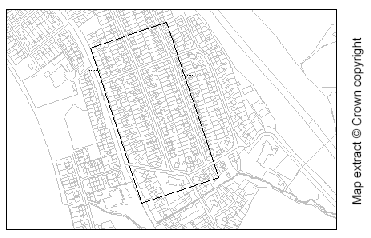
The resulting print template: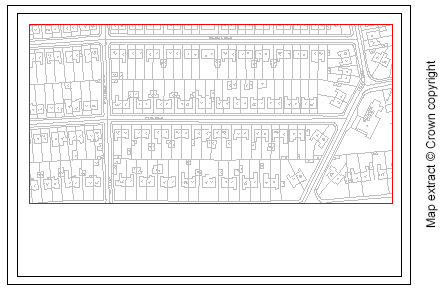
Click Next.
- If the Print Template is not compatible with the paper size, you will see this dialog:
_thumb_200_0.png)
.png)
If you do not see this dialog, proceed to step 6.
If you do see this dialog, the print template you have chosen does not fit onto the current printer paper at the scale you have chosen. You can:
- go back a step and choose another print template.
- choose Print Setup [File > Print] to access the Print Setup dialog to change the paper used.
- click on Fit in the Print Size dialog to fit the template to the paper. In this case the stretch factor to be applied to the Print Template to make it fit onto the current printer page setup will be shown:
 Stretch by.png)
- click Next to continue.
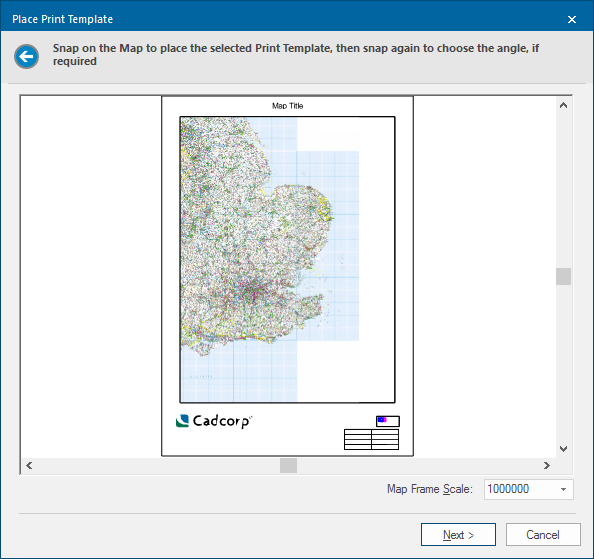
- In the Place Print Template dialog you will see the same area of the map base as in your current view; you will also see a rectangle attached to the cursor.
- This rectangle shows you the area of the map which will be displayed in the resulting print template. If you typed in an angle of rotation, the rectangle will be rotated. This rectangle may be outside the extents of the wizard view.
If you cannot see the rectangle, it is either bigger than the view or very small. Zoom out or in until you can see it using the “+” or “*” keys on the numeric keypad, the mouse wheel, the Up, Down, Left or Right arrows or return to the first page to choose a different scale or print size.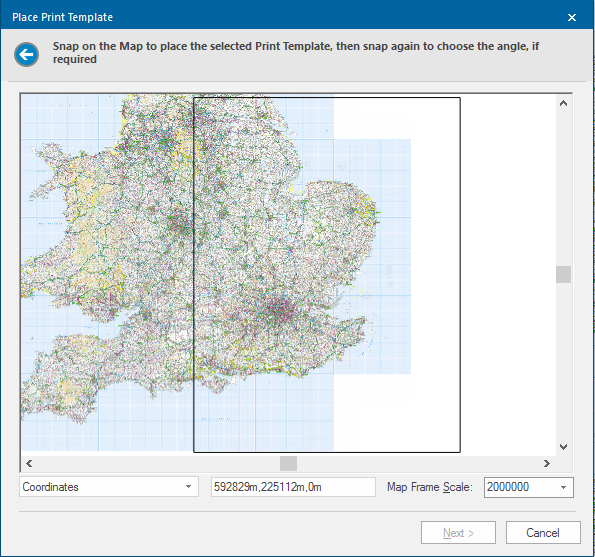
- Click to place the centre of the template at the centre of the area to be printed. Alternatively you can type the coordinates of a position.
- If rotating the print template using snaps, define a second position to indicate the angle of rotation.
- Click Next.
- The positioned template will be shown. Click Next.

- The Print Wizard Options dialog will be displayed:
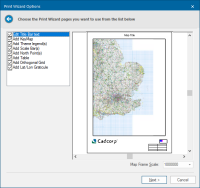
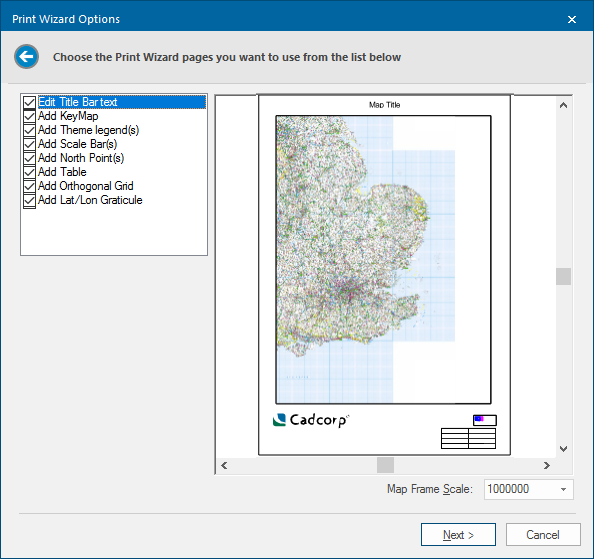
Check the tickbox for the options you want to appear on the print. Click Next.
Add automatic date and time entries